Thursday, January 19, 2012

Chatterbox Quilts' New Project


Hi everyone:

I am so excited to tell you about a new project that I've been working on - videos! My husband has been working very hard at helping me with some quilt videos and you'll soon be seeing these on my Youtube channel. Did you know that I had a Youtube channel? Well, I do and you'll be able to see all of my videos there. 

While we don't have a video studio, Gary's been able to transform our basement into one with the help of a few panels, props and the right lighting. It's surprising how much more there is than just make up and dialogue to produce a video! To start, you have to have a photogenic and talented host, but since we couldn't afford one, I'm it:) Then, once the filming is finished, there is the editing and post-production work, which is Gary's job. My work, being the talent, is done while his is just starting and this can take much longer than the actual filming. 

Here's a sneak peek at what we've been doing. While these aren't quite ready for primetime yet, I hope to be releasing these on a weekly basis soon. Subscribe to my Youtube channel to be notified when these are released. 


 I'm always looking for new video ideas, so I hope you'll leave a comment below with your suggestions.

Monday, January 16, 2012

New Year, New Projects


Hi everyone:

Happy New Year! 

Yes, I know that January 1 was a few weeks ago, but, as is often the case, I'm a bit behind. I've found myself under-motivated and distracted lately due to some family issues. Everything is great now, but I'm finding it hard to "get back on the horse", so to speak (actually, getting back on the horse would be easy as I love horseback riding). It's much easier to work on patterns and do blog posts when you do it consistently. If you're away from it for awhile, I find that it takes a bit to get back to work, but, as Oliver Wendell Holmes said, "He has half the deed done who has made a beginning", and I'm determined to make a beginning! 

I'm determined to take all of the pattern ideas that I have been working on and finish and publish them. I have several embroidery patterns, some stuffed toys and many quilt patterns, just dying to make their appearance. I also have book reviews that you'll be seeing on my blog soon as well as some giveaways. 

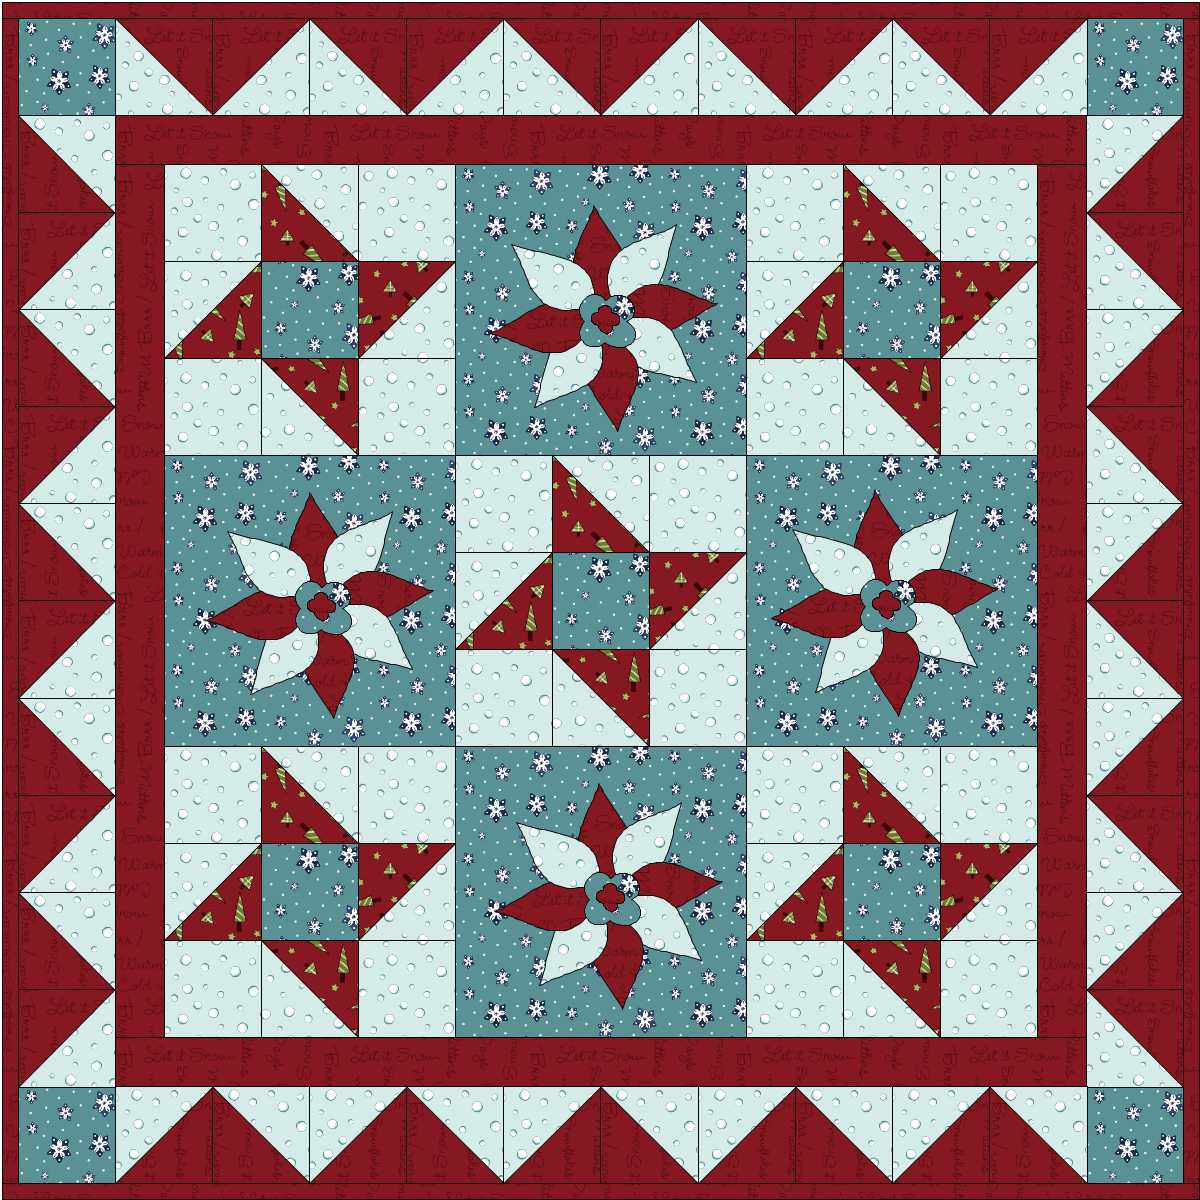
Poinsettia Pinwheels

Blossoming

Stick friends embroidery

Posh Pets

Blossoming (detail)

Tweet-heart table runner

Hoot embroidered stuffy

Screech and Whoobie embroidered stuffies 

I didn't make any New Year's resolutions for 2012, however I've resolved to do better this year. Whether it's exercising, creating patterns or finishing UFO's, I'm going to try to do better this year and accomplish more. 

I hope you're working on your 2012 resolutions and would love to hear what you hope to accomplish this year.

Thursday, December 1, 2011

A Pressing Issue

Hi everyone:


I don't know about you, but I find that it's sometimes difficult to press my fabrics on my ironing board. It's just the wrong shape. It should be rectangular and long enough so I can open up my fabric and press across the width of fabric, not the funny recta-triangle shape of a typical ironing board. I could, of course, purchase a specialty ironing board, but I really don't want to spend that much money on one. So, I decided to make one myself.


If you'd like to make yourself a portable pressing board, you'll need:


Piece of OSB or melamine in the desired size (I used melamine and it was 24" x 48")
Cotton batting (don't use a poly blend, just good old cotton batting, such as Warm and Natural)
Cotton fabric
Gripper shelf liner
Staple gun


First, I cut out two strips of the gripper shelf liner, wide enough to cover the width of the melamine (24" in my case) and about 10" wide and then stapled one strip to the top part of the melamine, on the back, and the other strip to the bottom of the melamine, on the back. This will help keep the board in place, on your counter, on your cutting table, wherever you decide to put it.
Close up of gripper shelf liner
Gripper shelf liner strips attached to back of melamine board
Next, I laid the melamine on the floor and measured and cut out batting in a size sufficient to cover the right side of the melamine (the side that you'll be ironing on) and wrap around to the back on all sides. You don't need too much overlap, but enough so all the sides will be covered and the batting should overlap the gripper shelf liner slightly. I then flipped the board over so the batting was under it and stapled the batting to the back of the melamine, mitering the corners as I went.


Batting measured and partially stapled to back of melamine board
Note that the batting covers one raw edge of the gripper shelf liner
Detail of mitered batting corner


Okay, so far, so good. I then did the same thing with the cotton fabric. I used an older fabric that I had in my stash and probably was never going to use in a quilt project, but it was perfect for this.
Batting all stapled down; cotton fabric being measured
I wrapped the fabric around the "right" side of the board and then stapled it to the back of the melamine. Make sure that you pull the fabric taut when stapling it.
Cotton fabric stapled to back of melamine board
Detail of mitered fabric corner

Wow, that was easy! Now I had a perfect ironing board: long enough to allow me to iron the fabric across its width and portable so I could iron anywhere in the house. I really liked how the gripper shelf liner kept the board in place without shifting when I was ironing. 
Finished pressing board, already in use!
Notice the sad, not-used-anymore ironing board in the background
If you need a new pressing surface, this project can be completed in less than an hour. The best part - it cost less than $20.00 and cleared out more of my fabric, which is always a good thing!